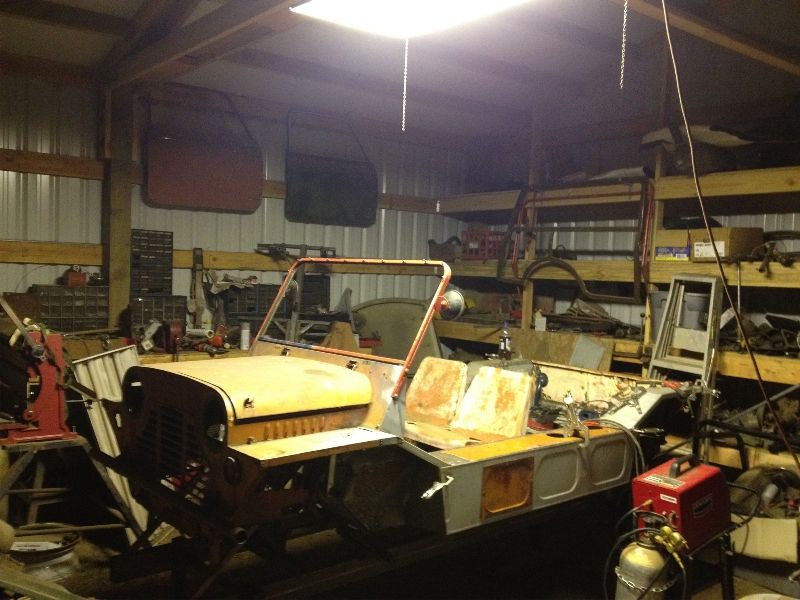
Aaaand Back to our regularly unscheduled program!
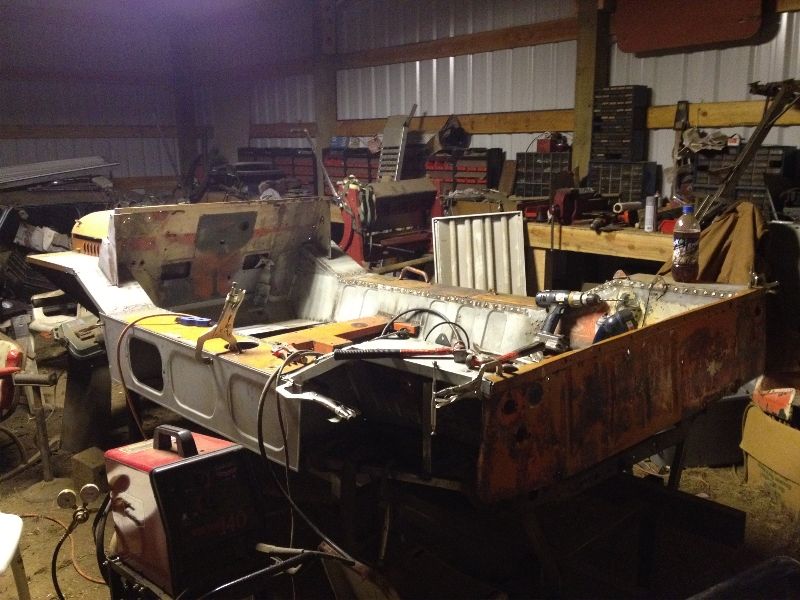
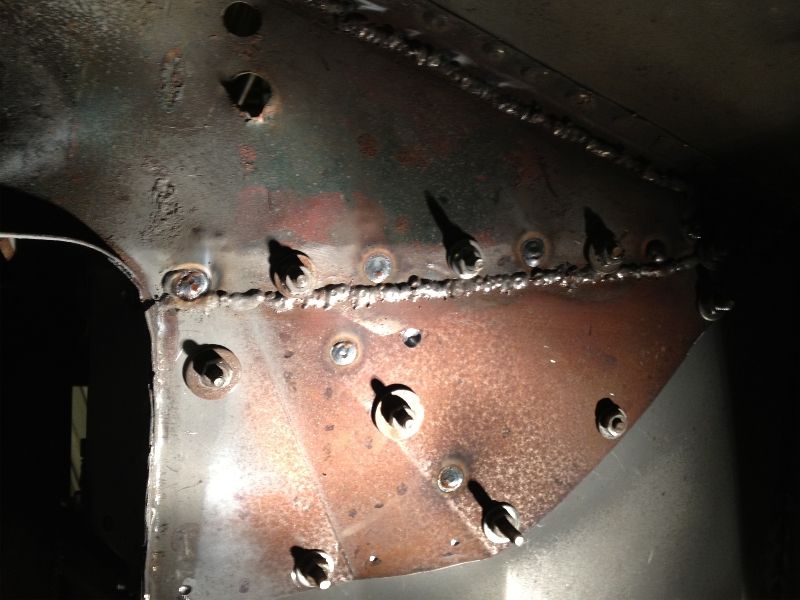
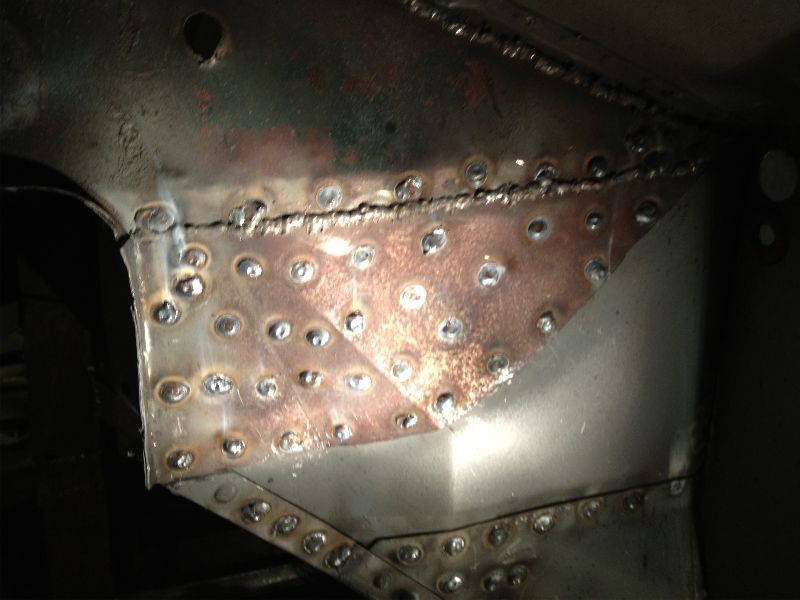
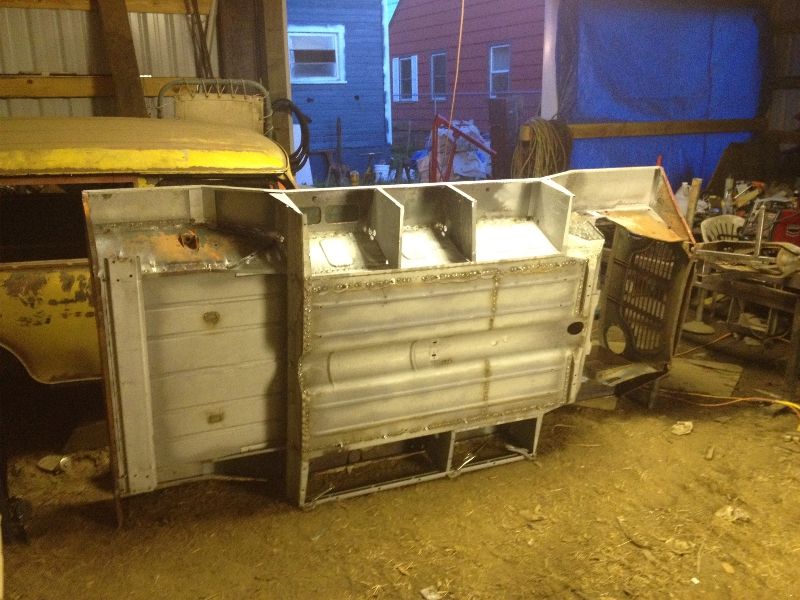
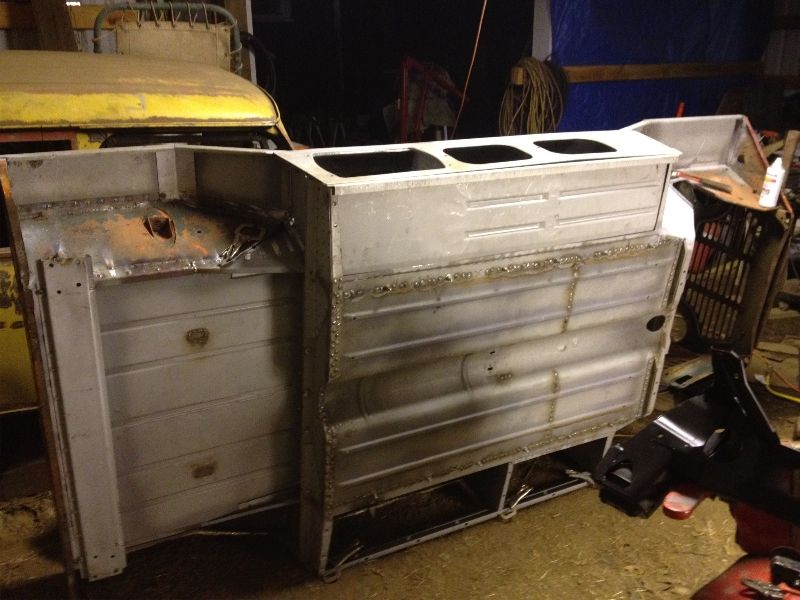
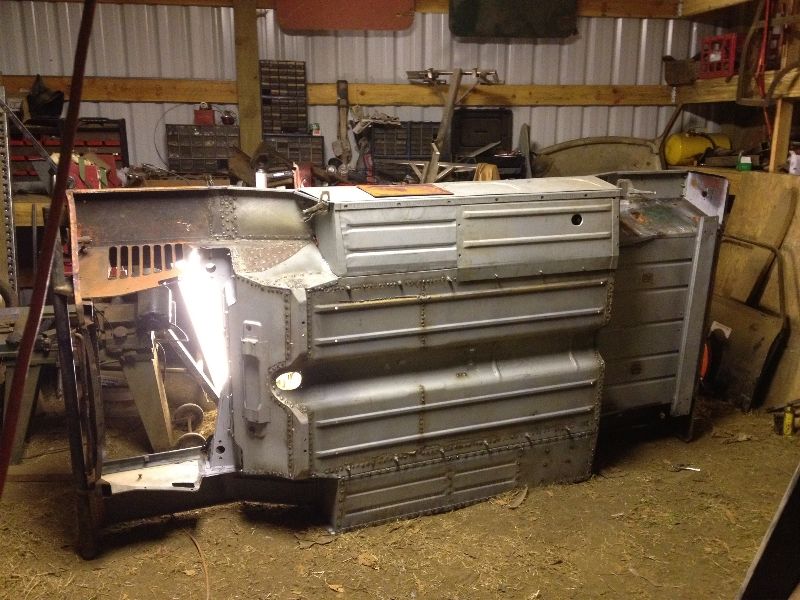
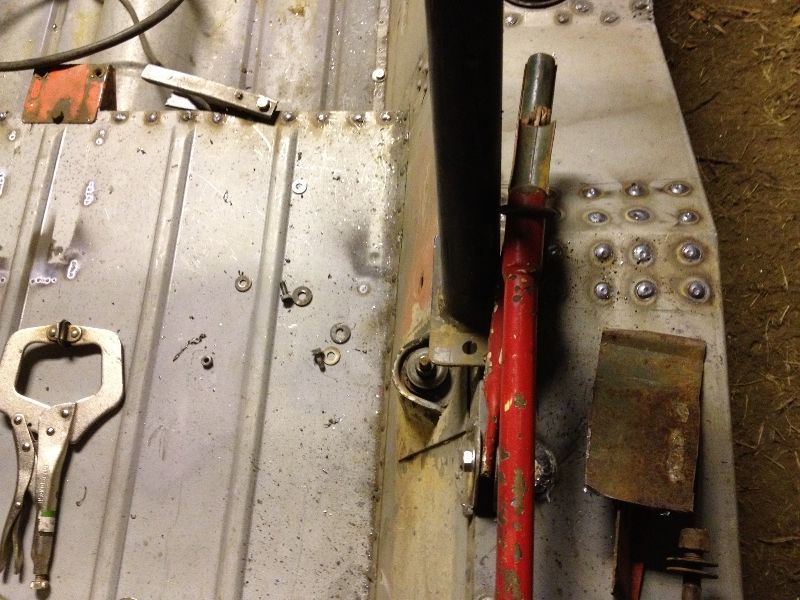
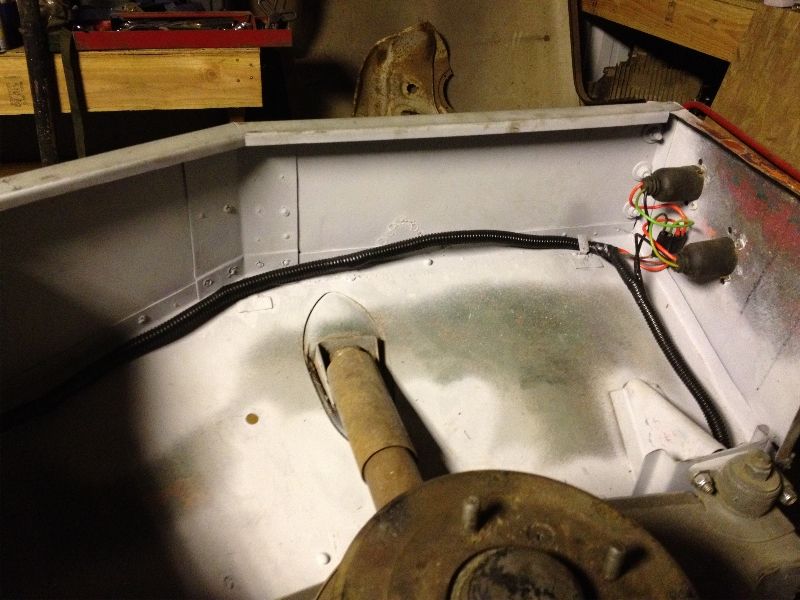
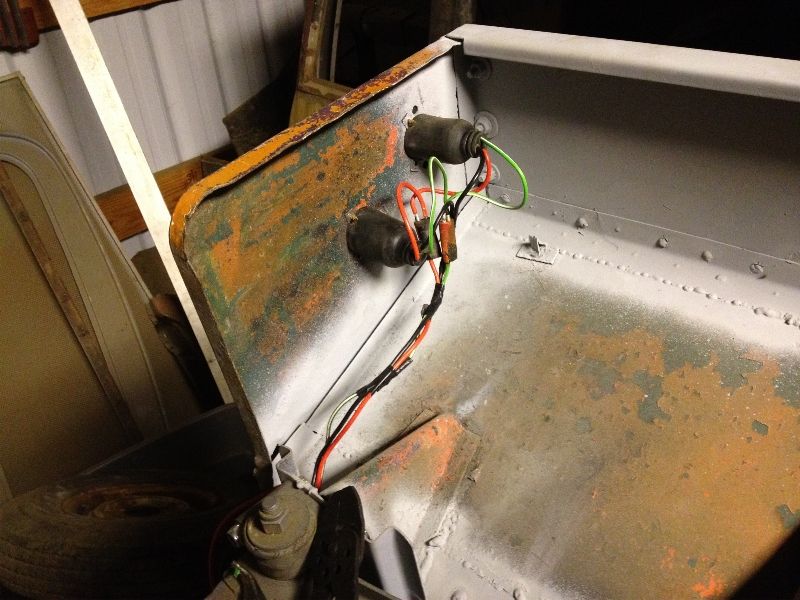
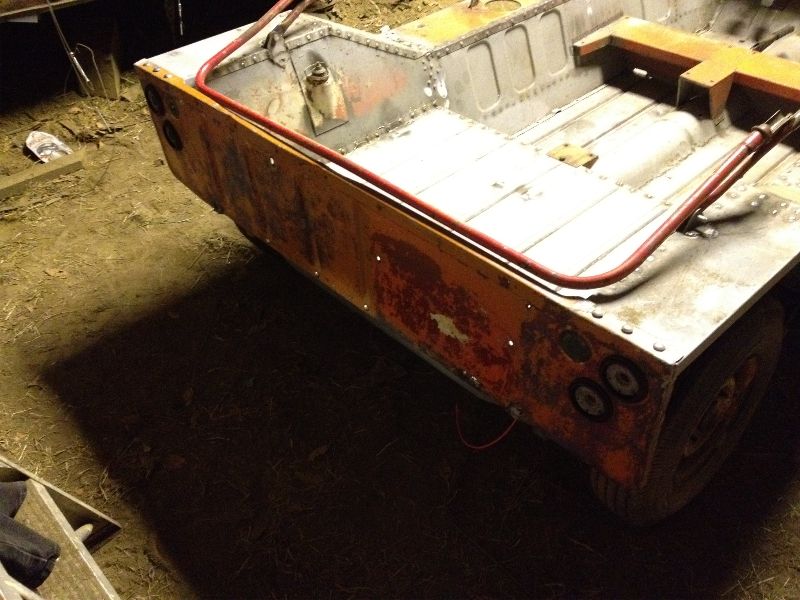
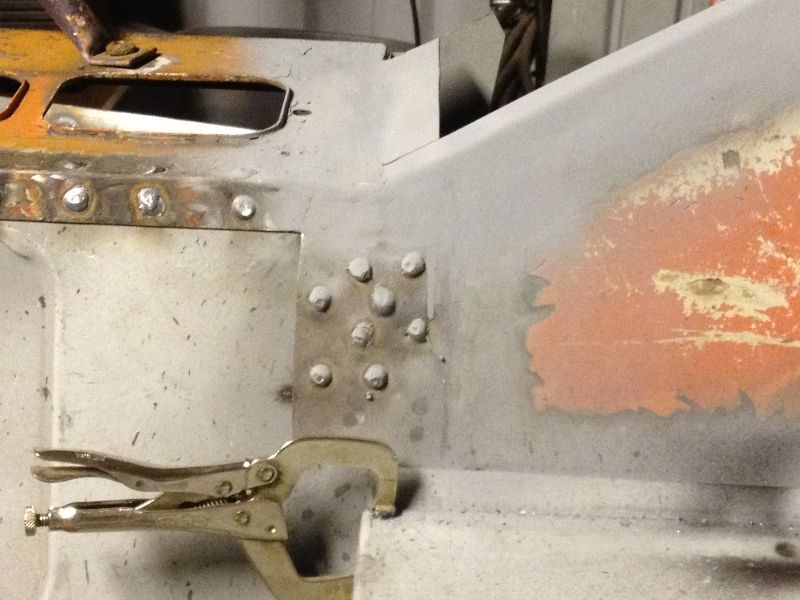
Like I mentioned last time I got both pannier tops welded in and then decided to seam weld the joint between the pannier top and the heelboard, It tuned out rather nice if I do say so myself... seeing as I had to cut out the seam weld massage panels around a bit more and then re-weld it. I didn't like how the pannier top was not lining up with the rear inner hull sides to my satisfaction.. And after fixing it and doing a bit of dress work I think it was work well spent!
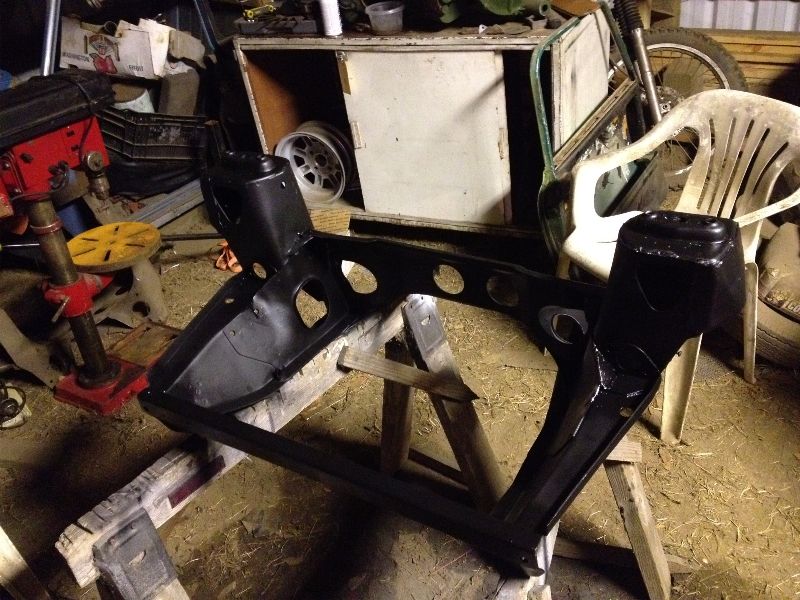
Along with that I was able to start tossing paint on the front subby as it has finally returned from the sand blaster and now is looking nice.
while digging around at moms house I found the seat I think I will use for a bit, it came from and is the only remaining part from a Honda FL400 Pilot. It's very comfortable but.. that blue is very loud!
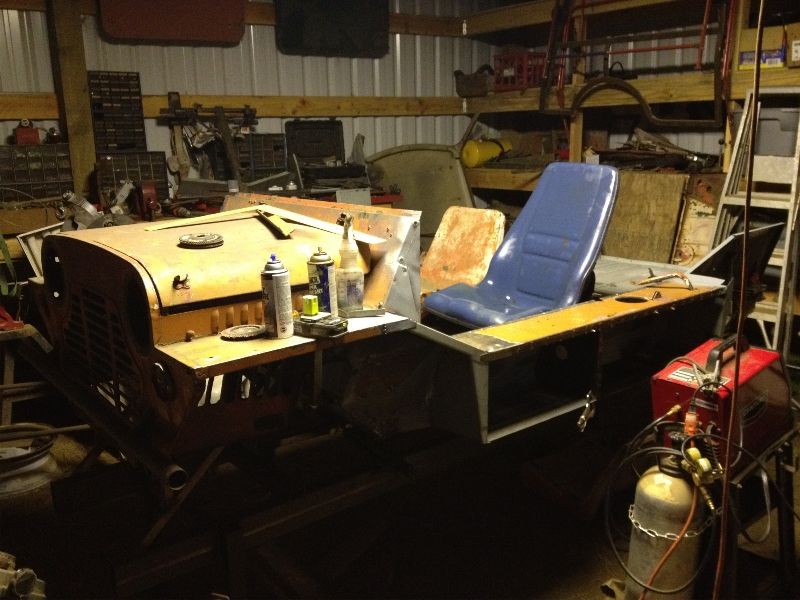
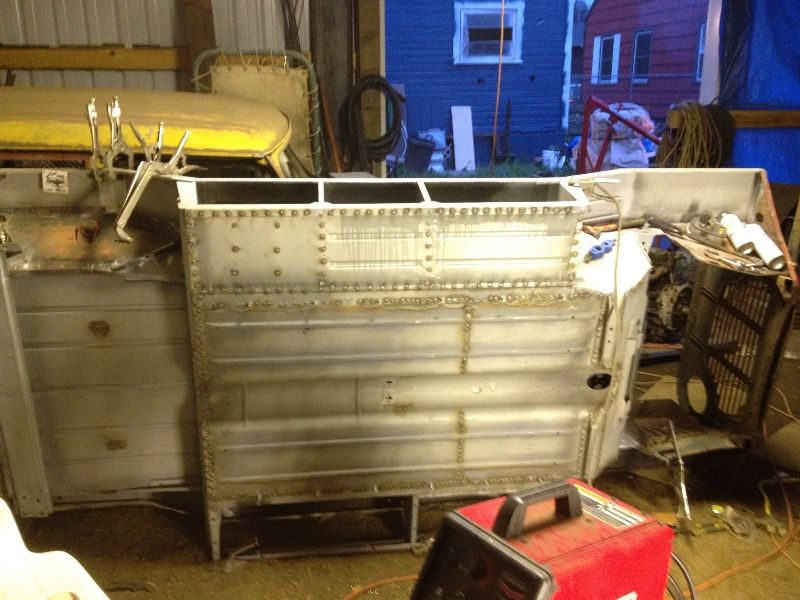
this morning when I got up I continued welding as I have been known to do lately and finished welding as much of the load floor in as I can reach from the top, more of the pannier tops, and fully welded on the LH rear wing after checking for true and square... Yes the little chair was what I used inside the moke to drill and weld the front of the load floor without having my legs go numb :p
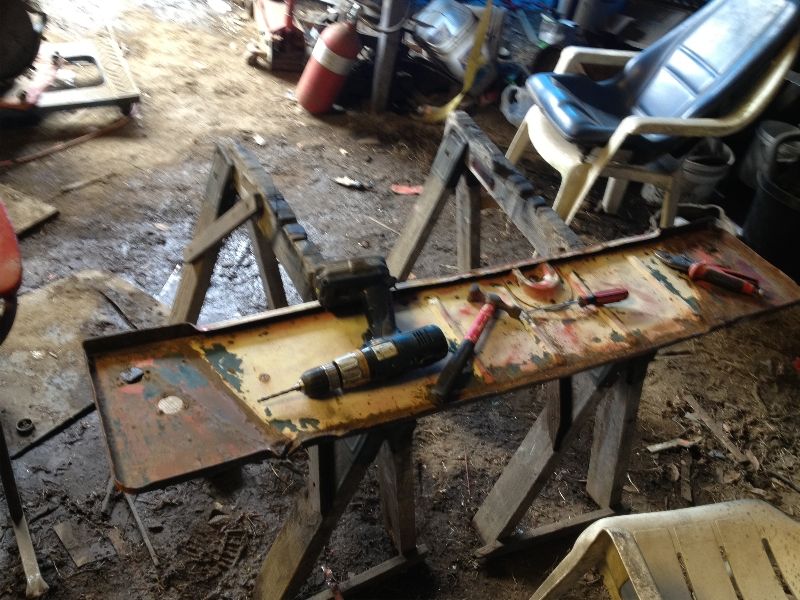
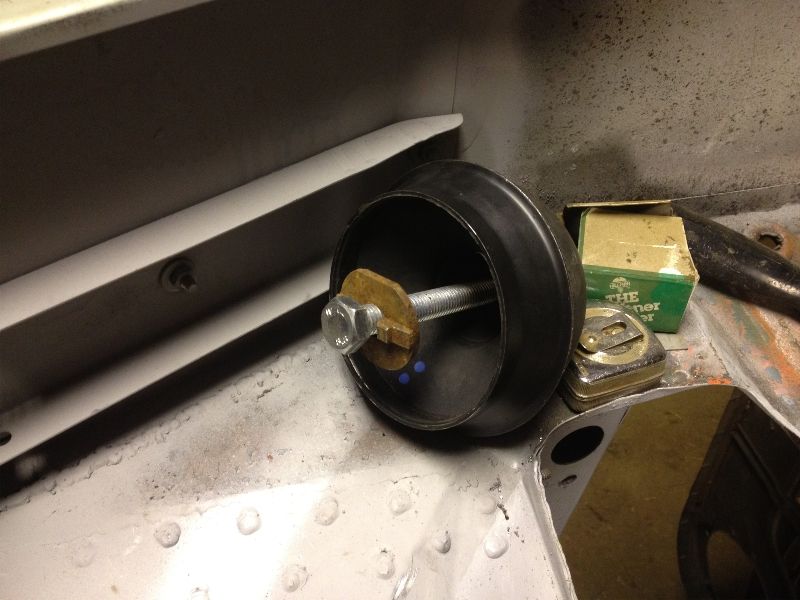
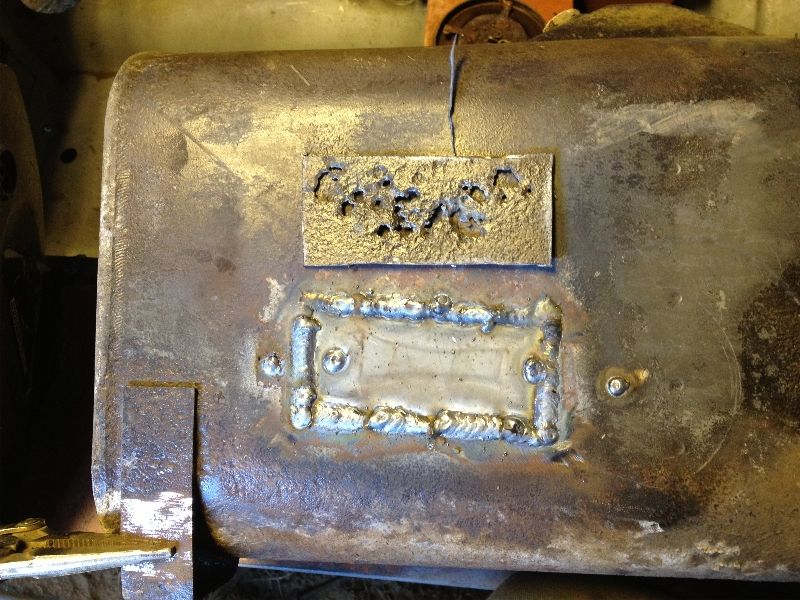
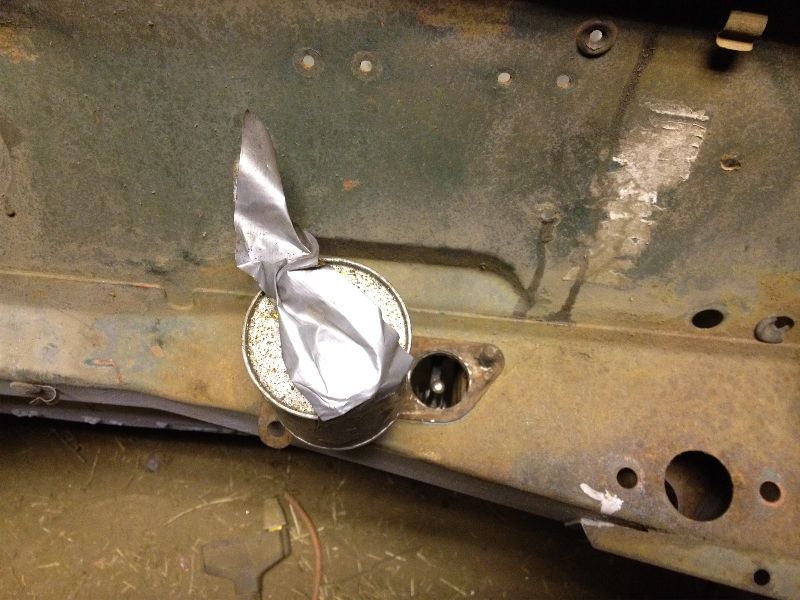
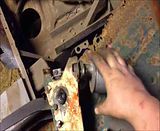
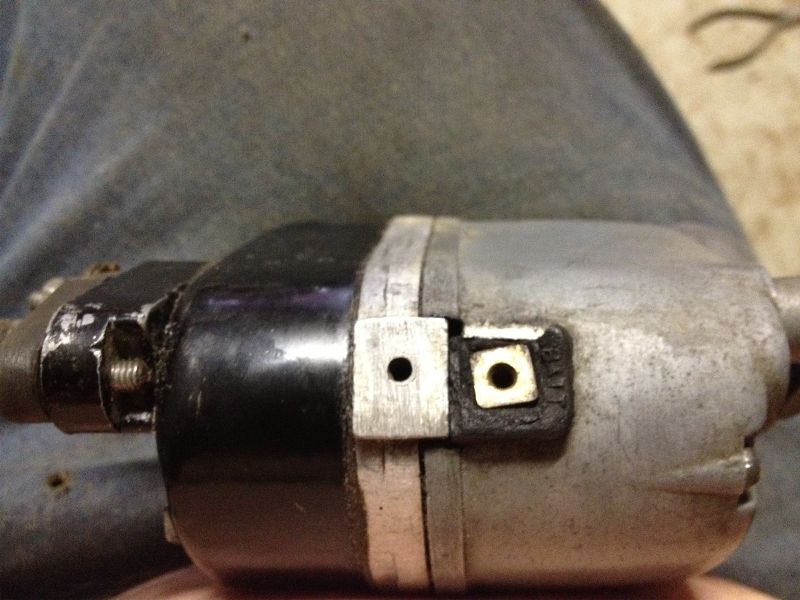
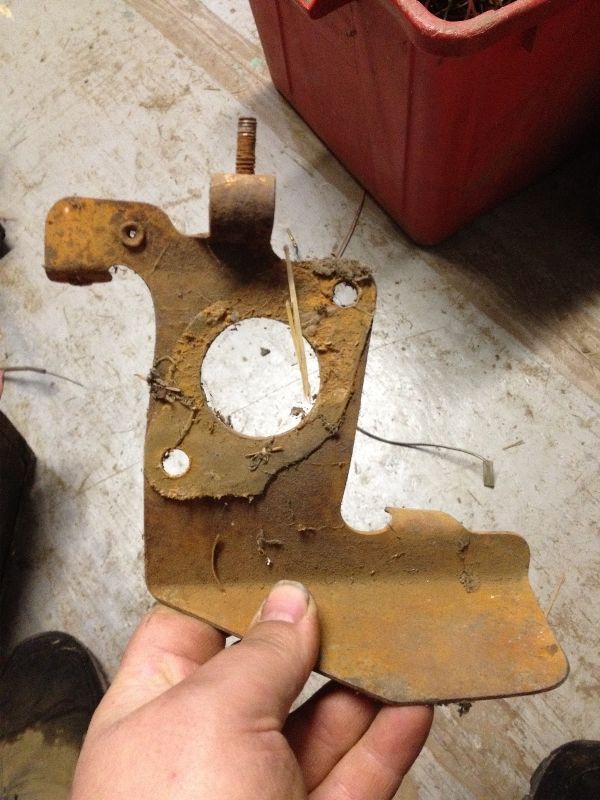
This thing seems closer and closer every day but yet further and further away, every job makes two more it seems. For example, I dug out my manifold and parts for the 1 1/2 SU I picked up recently.. and the only abutment plate I seem to have is this ugly thing... So now I need gaskets, spacer, and abutment plate before I can use this on the 1100... oh joy.
Until next time.
Friendly Neighborhood Rusty Moke Nut.
Chris
 !?
!?